Painting a chalkboard wall can be really fun and a little messy. It is probably the best minimalistic way to decorate any space with minimal effort, materials, and budget. But it will take your time and push your creative thinking abilities, so be prepared. If you don’t have enough time, you can hire professionals offering wall painting service or do it yourself. This article covers everything that you need to know about painting a chalkboard wall.
Things You Should Check Before the Paintwork
The first thing you’ll be checking is the texture of the wall. If your wall has bumps or unevenness, the chalkboard paint won’t give a smooth result. And you certainly wouldn’t want a chalkboard wall with an uneven finish. If the wall has any bumps or uneven texture, be sure to get rid of it and then proceed with the paintwork. If you think it is too much hard work, you can look for professionals offering the best painting service in Mumbai or any location that you live and let them do the hard work. They will take care of both the wall texture and apply the paint seamlessly.
Steps to Paint a Chalkboard Wall
Once you’ve checked the wall texture, follow the below-shared steps:
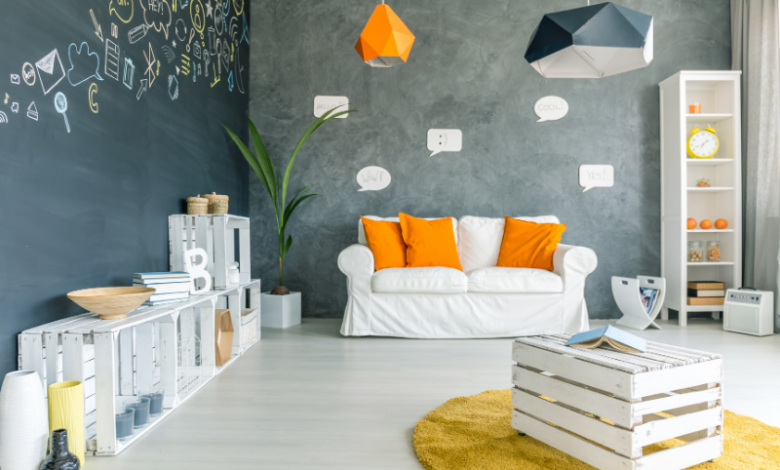
- Choose the Wall: Every space has a focal point that needs beautification. Instead of applying the usual monochrome color paint, try applying chalkboard wall paint for a unique look. If you don’t want to take the risk, you can paint a smaller area to see how chalkboard paint will look. If it looks great, you can consider covering a larger space with it.
- Prepare the Wall: You can prepare your room’s wall using two things – painter’s tape and sanding. Stick the painter’s tape along the wall’s edges to ensure the chalkboard paint lines are clear and straight. If your wall has a bumpy surface, you can get rid of it by sanding. You can either use a sanding block or sanding machine to remove bumps from your wall.
- Start Applying the Chalkboard Paint: For a cleaner look, start with painting the wall borders using a mini roller or good quality paintbrush. Once done, use a larger brush and begin painting the inner space. It not only makes the work faster but also ensures you get an excellent result. Before you begin painting, put an old carpet or cloth on the floor to protect it from stains resulting from possible paint spills. You have to apply at least two coats and let it set for some time. If you’re looking for an ideal time, check the duration mentioned in the paintbox.
- Prime the Wall: It is very important to prime or season the wall, else whatever you write or draw on the chalkboard wall won’t be clearly erased. You certainly wouldn’t want a chalkboard wall having faded imprints of past wall drawings or writings. To season the wall, you can take a piece of chalk and rub it against the wall vertically and horizontally. It will be a messy job, but it will give you excellent results, so be patient. Once done, wipe it all off using a damp cloth, and you’re ready with a gorgeous chalkboard wall.
Besides using the above steps, you can incorporate some enticing white font wall stickers, chalkboard stencils, chalk pens, or any other material you like that can add to the overall wall aesthetic. If you don’t have some creative ideas to decorate this wall, you can always turn to Pinterest for endless ideas.